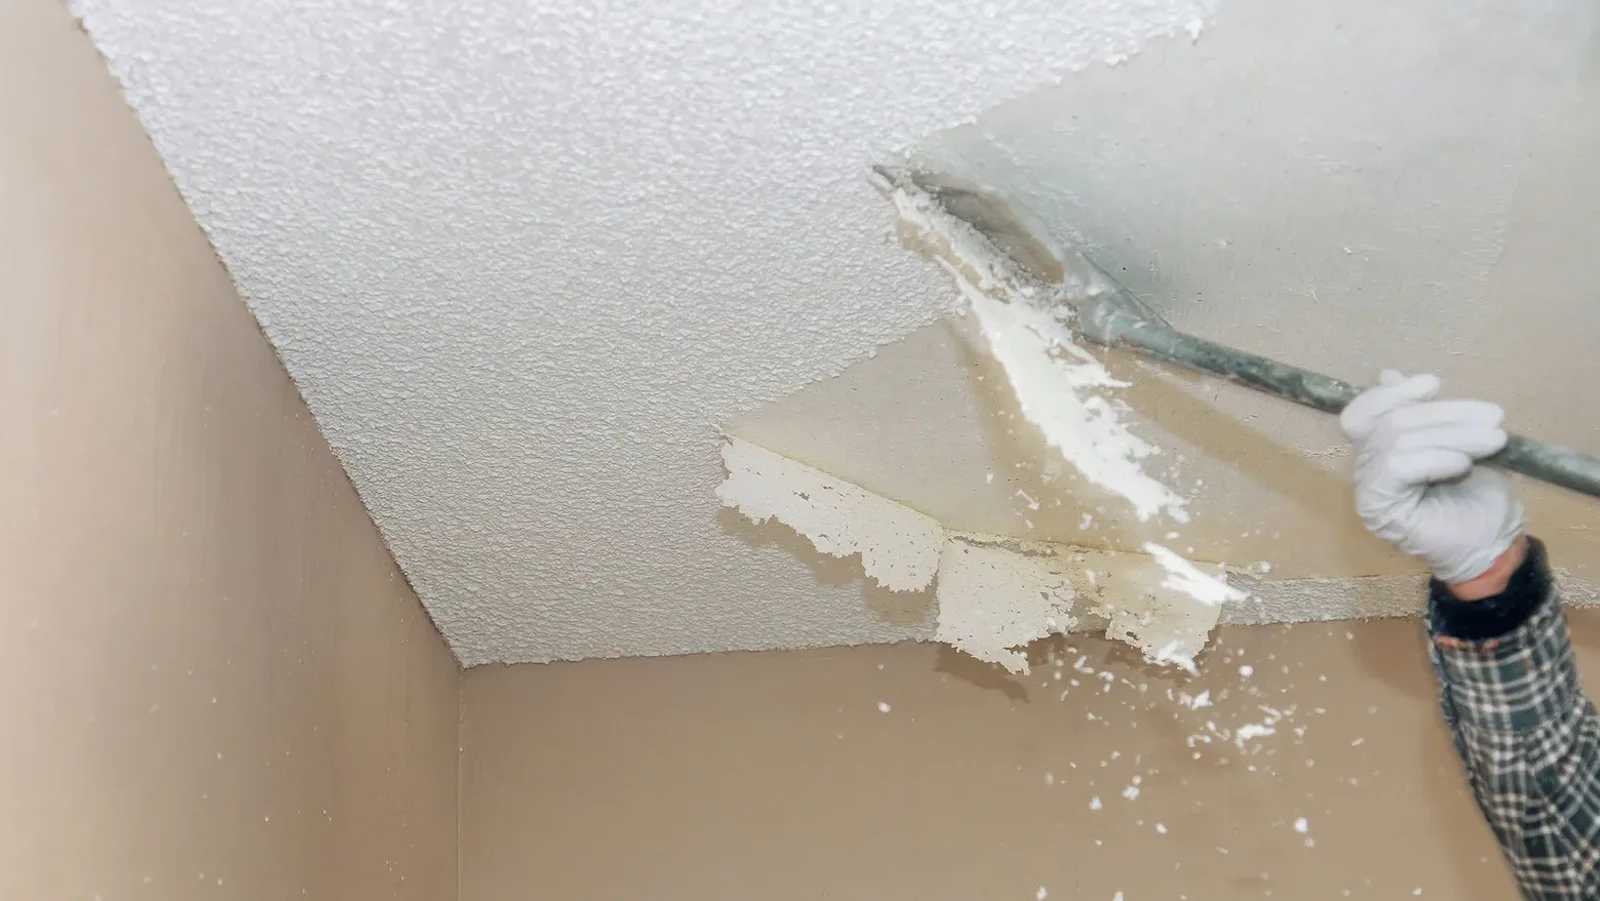
Half the houses in Clarksville, Hopkinsville and Dickson built between 1960 and the mid-1990s have popcorn ceilings — the sprayed, bumpy texture that hid every drywall seam and saved builders a day of finishing. Homeowners want them gone: they date a room, they collect dust and cobwebs, they can't be patched invisibly, and they're miserable to paint. Taking one down isn't complicated, but it's messy and there's one safety question to answer first. Here's the whole process, as we do it.
First: is there asbestos in it? Popcorn texture made before 1978 often contained asbestos, and stock kept being used into the mid-1980s. If your house was built before about 1985 and the ceiling has never been replaced, get the texture tested before anyone scrapes it. It's simple — a small sample goes to a lab, results come back in a few days, and it costs far less than the removal. If the test is positive, removal is a job for a licensed abatement contractor, not a painter, and we'll say so. If it's negative, or the house is newer, we go ahead.
Second: has it been painted? Unpainted popcorn softens with water and scrapes off easily. Painted popcorn doesn't — the paint seals the texture and stops the water getting in — and removal takes considerably longer, with more skimming afterwards. We check at the estimate by spraying a small area and seeing if it softens. It changes the price, and we'd rather you know up front.
Sealing the room. This is where the mess is won or lost. Everything comes out of the room that can, and everything that can't is wrapped. Plastic goes on the floor and up the walls, taped at the ceiling line; light fixtures and fans come down; vents are covered. When the room is done it looks like a tent. Scraping a ceiling produces a lot of wet, heavy paste, and all of it lands on the plastic and gets rolled up and bagged at the end. Nothing leaves the sheeting.
Scraping. The texture is sprayed with water, given a few minutes to soften, and scraped off with a wide blade down to the drywall paper. On an unpainted ceiling in an average bedroom this is a couple of hours. The ceiling that appears underneath is never pretty — bare tape, rough seams, nail pops, sometimes old water stains or cracks the texture was hiding — which is why what comes next matters more than the scraping.
Skim coat and sanding. The whole ceiling gets a thin layer of joint compound troweled over it, seams and repairs are re-taped where needed, and once it's dry it's sanded smooth with a pole sander and a light. Usually two coats. This is the step that decides whether your new ceiling looks like drywall or like a scraped popcorn ceiling, and it's the step a cheap job skips. Dust is controlled with vacuum sanders and the sealed room.
Prime and paint. A stain-blocking primer first — old ceilings almost always have something in them that would bleed through — then two coats of flat ceiling paint. Flat is the right sheen: it hides the tiny imperfections that any skim-coated ceiling has and gives the clean, modern look you were after. Then the plastic comes down, the fixtures go back up, the room is vacuumed, and it's yours again.
How long? A single average room is usually two days, because the skim coat needs to dry overnight before sanding. A whole house of ceilings is a week to ten days, done in blocks so you can keep living in the rooms we're not in. Want a number for yours? Call or text God Bless Painting at (931) 237-6075 for a free estimate — we'll check for paint and age while we're there.